
Banners are decorative Minecraft blocks that can be created to look exactly how a player wants. Players usually use custom banners on completed bases, and houses. They can place their banners on shields, top of blocks, walls, pretty much anywhere. But not every player knows how to create a custom banner. Here’s how:
In order to create a banner in Minecraft, you will need a stick and six pieces of wool. Then, you need to open up the crafting table and copy the image. You can also create banners with different colours of wool, besides white.
You will also need dye and a loom. You can get dye in many ways, depending on which colour you want. You can get yellow dye from yellow flowers, white dye from bone meal. For the loom, you will need two strings and two wooden planks.
In order to create a pattern, you need to put the banner into the loom and place a dye next to it. After it’s done, many options will appear for you, and you can get through all of them by scrolling.
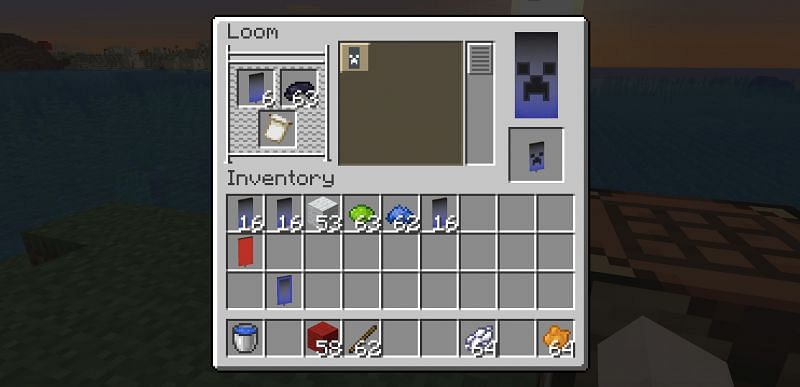
You can combine different banners with dyes. The sky is the limit. For advanced designs, such as skeletons, skulls or creepers, you will need a banner pattern. Banner patterns can be done out of a piece of paper and an item like a creeper head. After the banner pattern is created, all you need to do is to put it in the bottom slot in the loom. Place it in the left loom slot, then place the dye in the right one.
This is how you easily get a custom banner.